
How to Crochet Front and Back Post Stitches
One of my absoulutely favorite ways to add texture to my blankets and garments is to use the crochet post stitches. However, I have found that it can be one of the more intimidating stitches to learn as a new crocheter. So, if you are new to crocheting and are intimidated by patterns that use Front Post Stitches or Back Post Stitches, or you just need a refresher, then this tutorial is for you!
These stitches are wonderful for adding texture to your blankets, shawls, scarves, washcloths, and more! It helps make the fabric feel thicker and cushier, while adding a wonderful visual effect to the fabric!

To better understand how to work these stitches, check out this video tutorial from my YouTube channel!
The first thing you need to do is know how to identify the body of your stitch. Often called the “legs”, it is the part of the stitch that is not the top, where the “v” you work in is located. For both front and back post stitches, you want to work around the body or leg of the stitches from the previous row. The difference between the two is really very simple: the front post stitches are worked from the front to back to front, while the back post stitches are worked from the back to front to back.
After you have identified the body of the stitches, we are going to do the Front Post Double Crochet Stitch first. Yarn over your hook like you normally would, then insert your hook from front to back on the right side of the stitch, then from back to front on the left side of the stitch. Then yarn over and pull through like you normally would and finish off your double crochet.

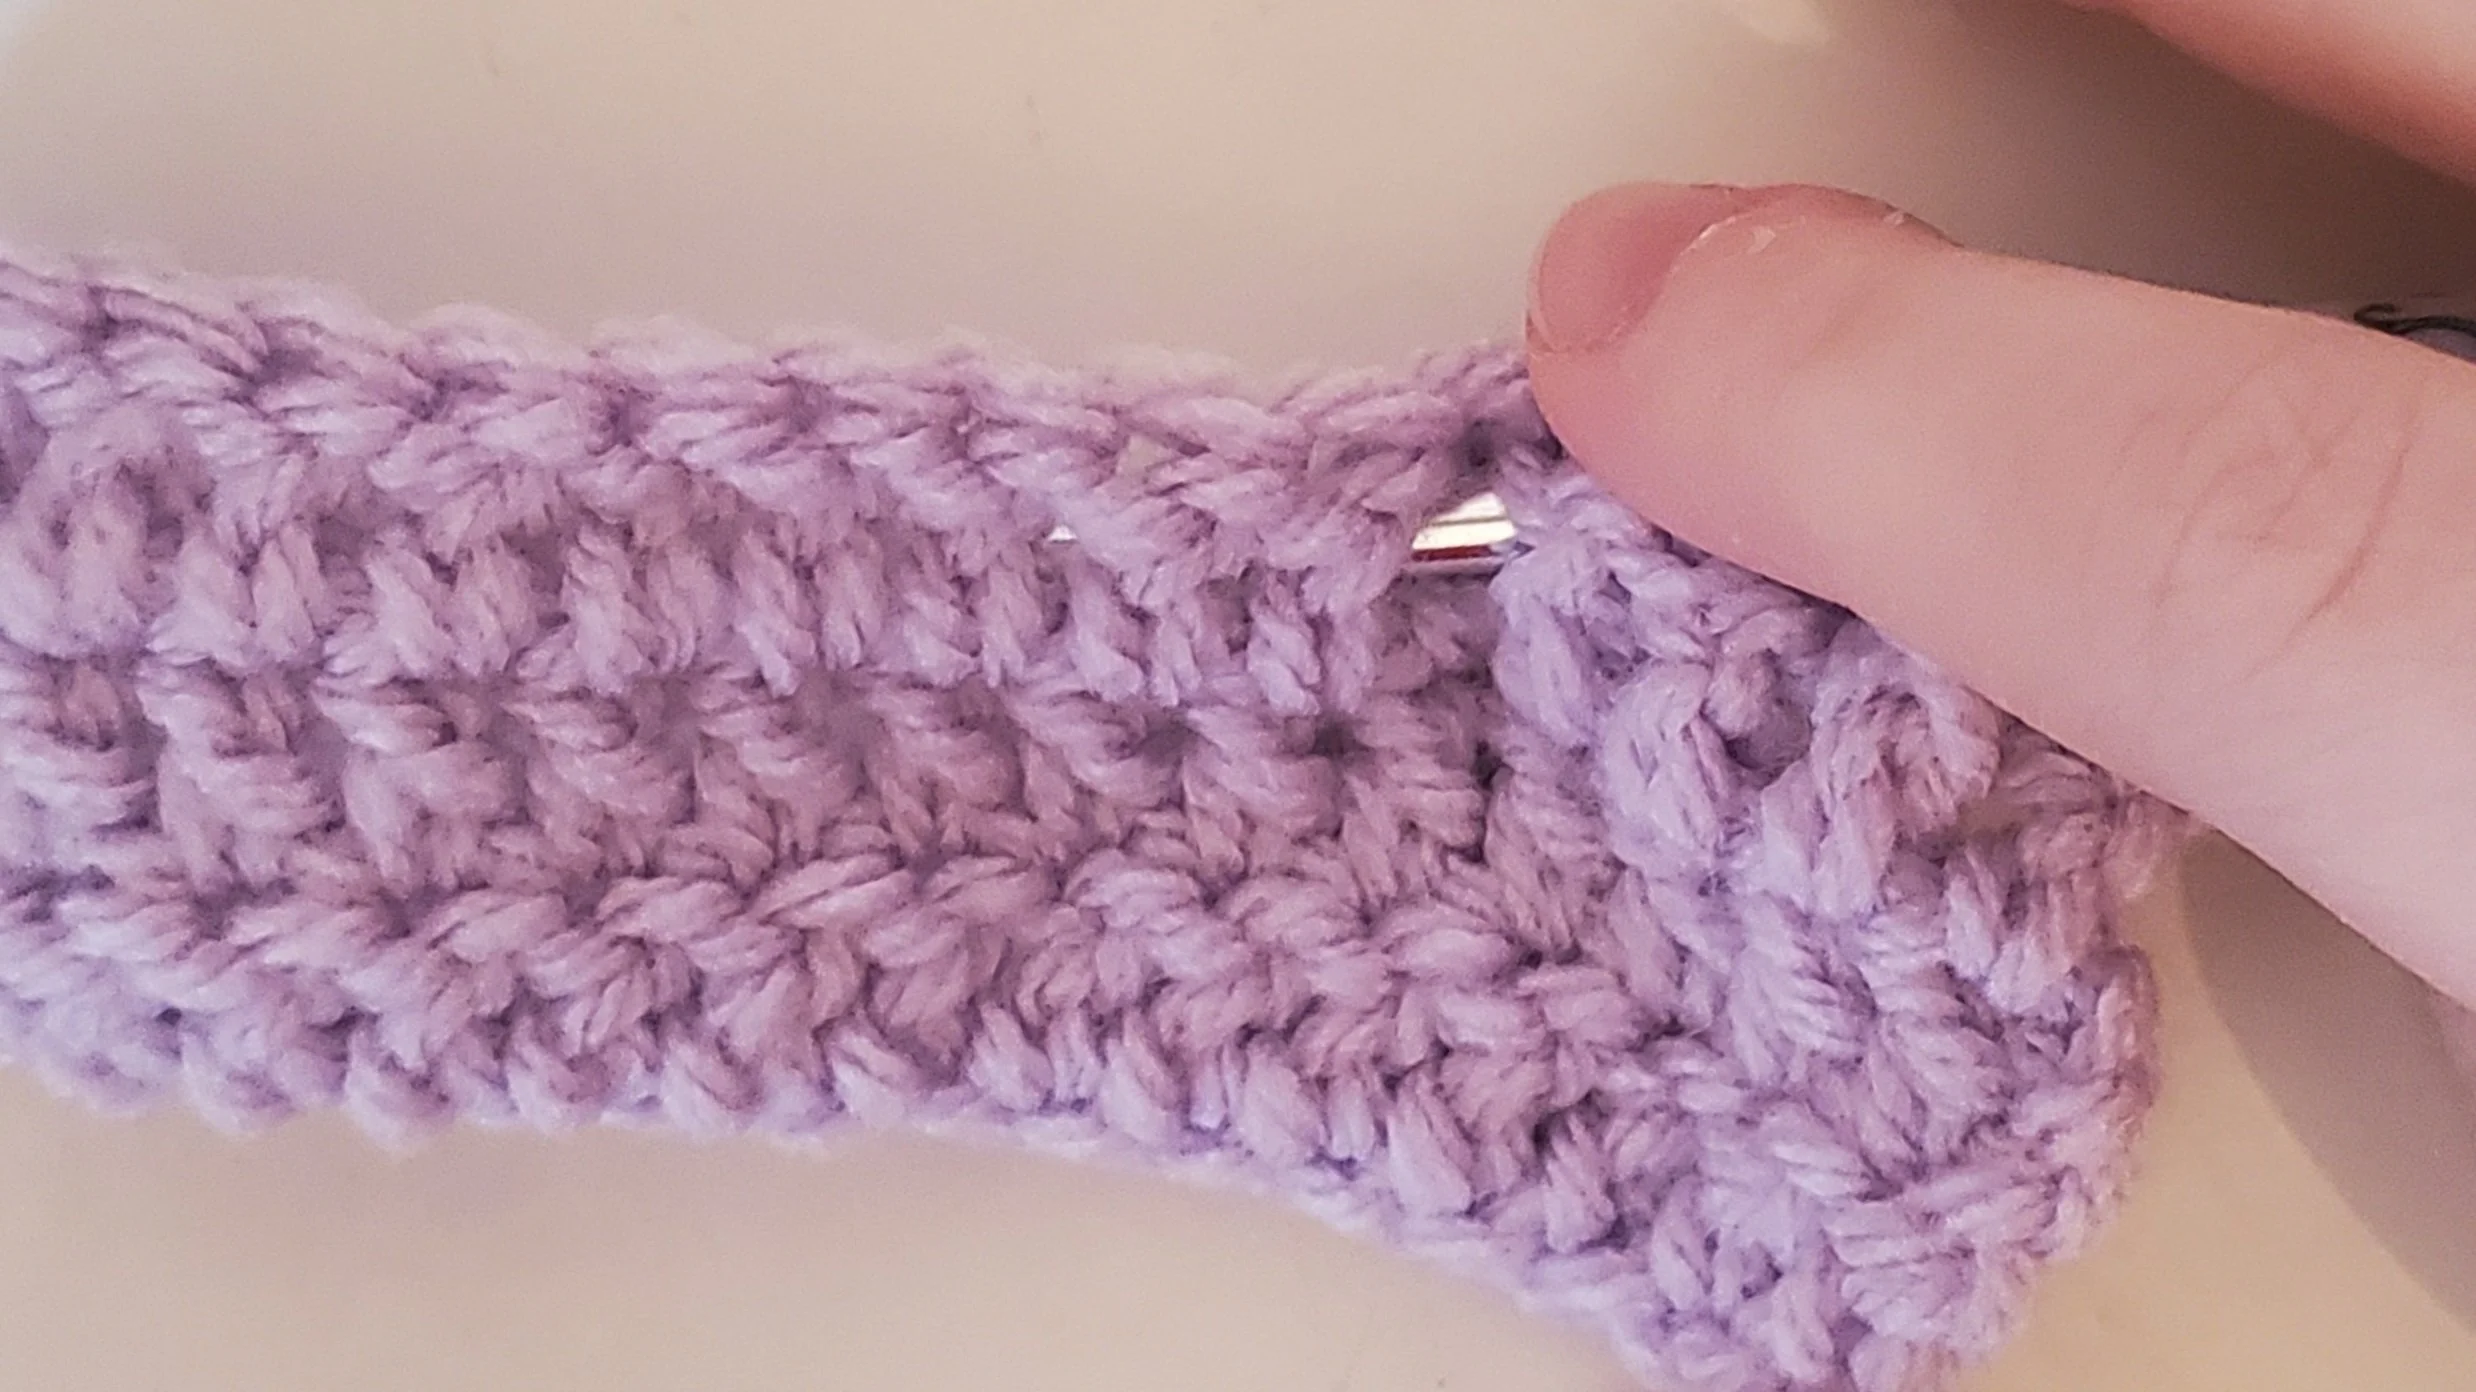
Insert the hook front to back from the right side of the stitch.

Then move the hook from the back to the front on the left side of the stitch.

Yarn over and pull through like normal.

Finish the double crochet!
Next, we are going to do the Back Post Double Crochet Stitch! Yarn over your hook like you normally would, then insert your hook from back to front on the right side of the stitch, then from front to back on the left side of the stitch. Then yarn over and pull through like you normally would and finish off your double crochet.

Insert your hook from back to front on the right side of the stitch
Then move the hook from front to back on the left side of the stitch

Yarn over and pull through like normal.

Finish the double crochet!
And that’s all there is to it! Let me know in the comments if you have any questions!